For interior designers and architects

Turn CAD drawings into client-ready renders. Your layout, your proportions — photoreal in about a minute.

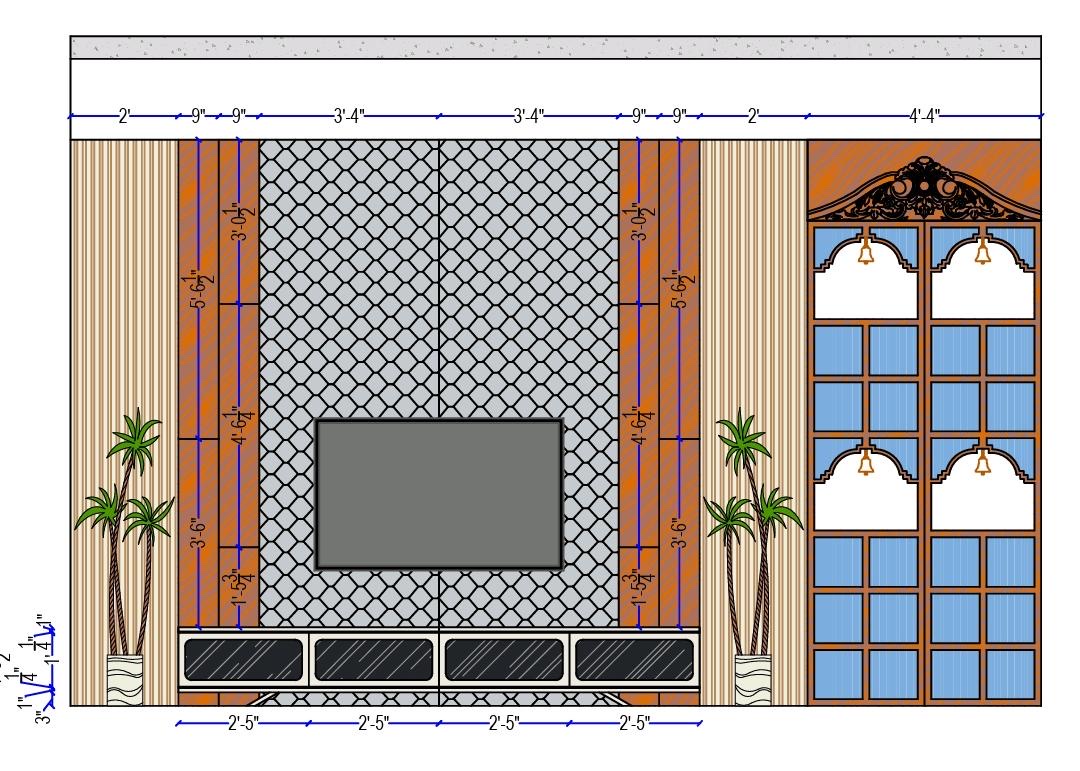
Co-Architect reads your elevations, floor plans and sketches the way a designer does, then renders that exact design — so you can present a photograph without waiting days on a visualiser.
  • Pay per render, no subscription
  • Failed renders refunded
  • 2K output
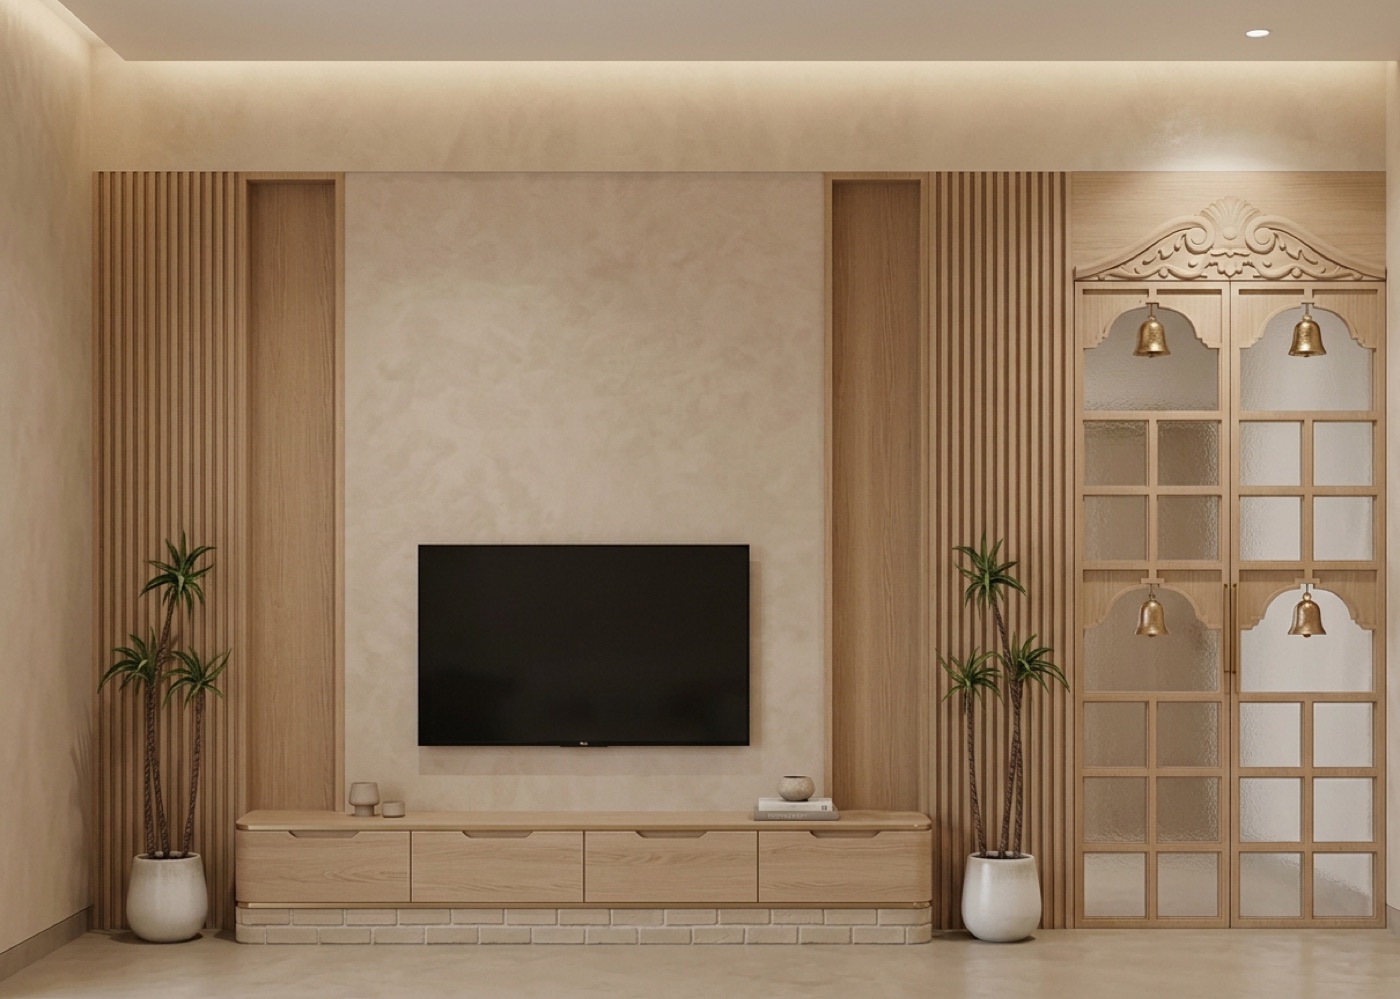
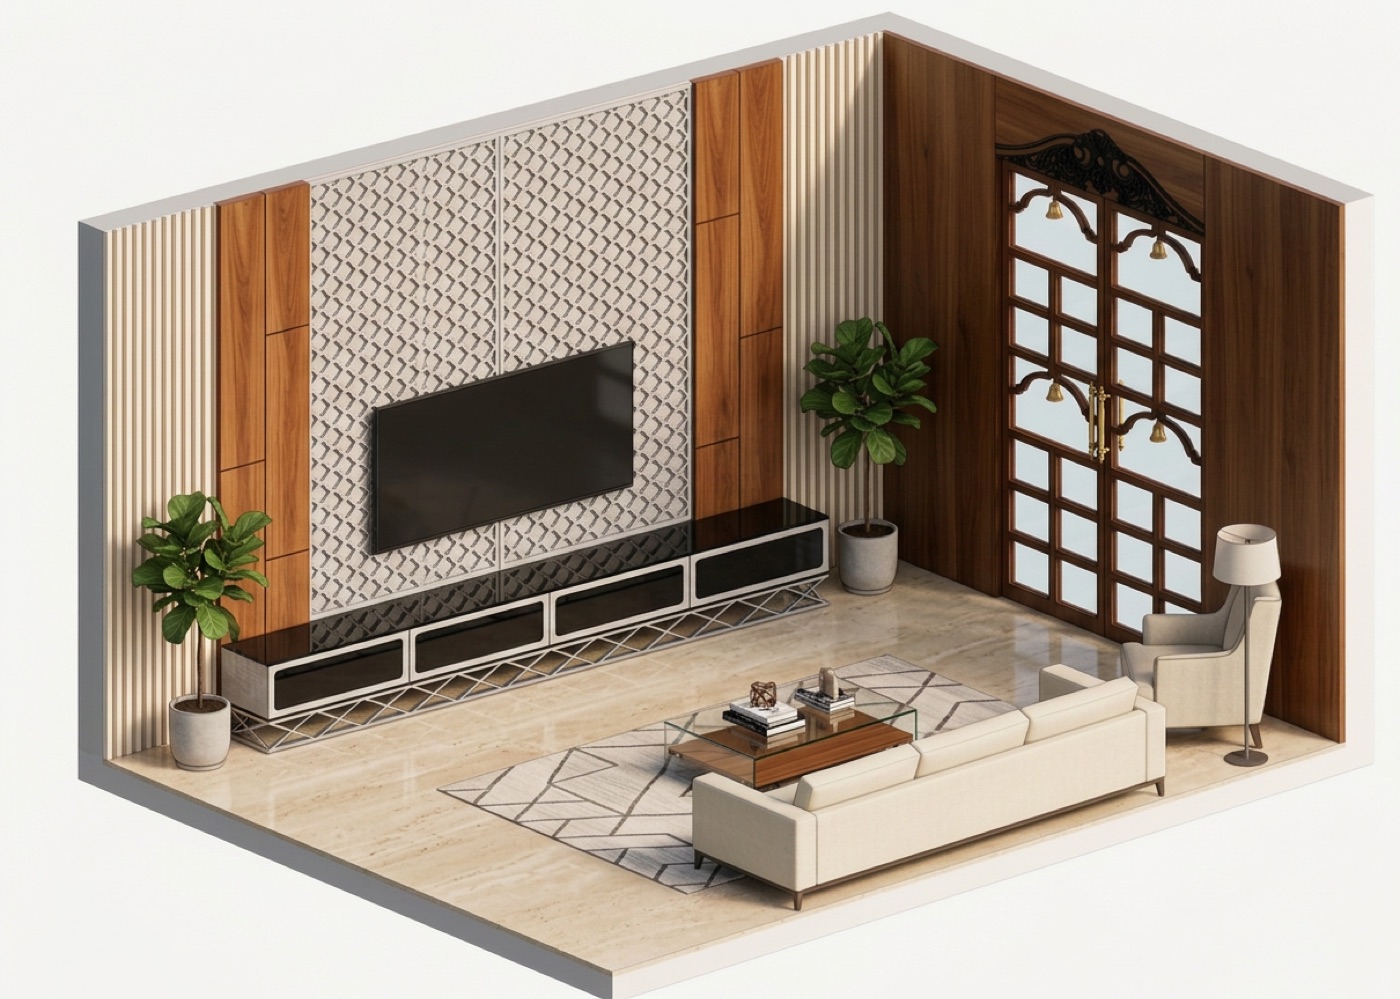
Photoreal render produced from the elevation drawing
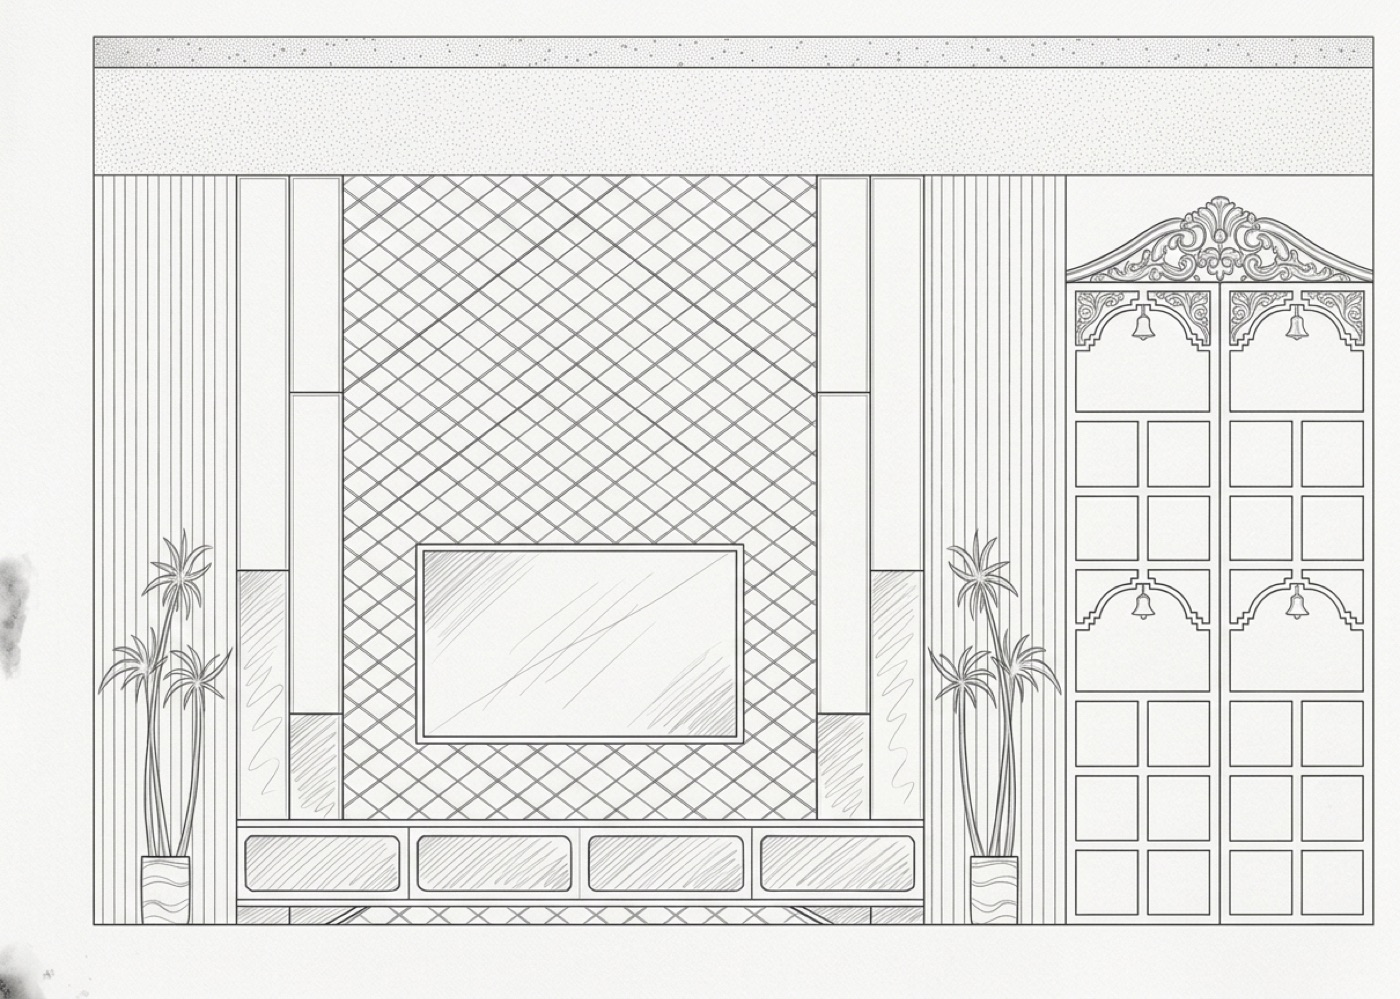
Original CAD elevation drawing
DrawingRender

Drag to compare the elevation drawing with its render

Works with the drawings you already produce

  • CAD elevations
  • Floor plans
  • White models
  • Hand sketches
  • Site photos
  • Existing renders

Why it is different

Generic image AI decorates. Co-Architect follows the drawing.

A design render is only useful if it shows the design you drew. Accuracy is built into every step, not left to luck.

Typical image generator

  • Treats the drawing as loose inspiration
  • Turns labels like “T.V.” into random objects or stray text
  • Adds or drops shelves, strips and openings
  • Changes the camera angle and crops the frame

Co-Architect

  • Reads every label, level mark and element before rendering
  • Keeps counts: two strips stay two, three shelves stay three
  • Checks each render against your drawing and repairs near-misses
  • Holds your viewpoint and aspect ratio — only light, material and life are added

How it works

From drawing to presentation in three steps.

  1. Drop your drawing on the canvas

    Upload a PNG, JPEG or WebP up to 15 MB. Phone photos are straightened automatically and file metadata is stripped on upload.

  2. Pick the deliverable

    Choose Interior, Exterior, Floor plan or Graphics, then set light, finishes and mood with a few taps — or type a material brief.

  3. Review, refine, download

    The render appears next to your drawing. Circle any area to change only that part, branch variations, and download for the client.

Workflows

One canvas for every deliverable on the project.

Each workflow starts from what you have and ends with something you can send.

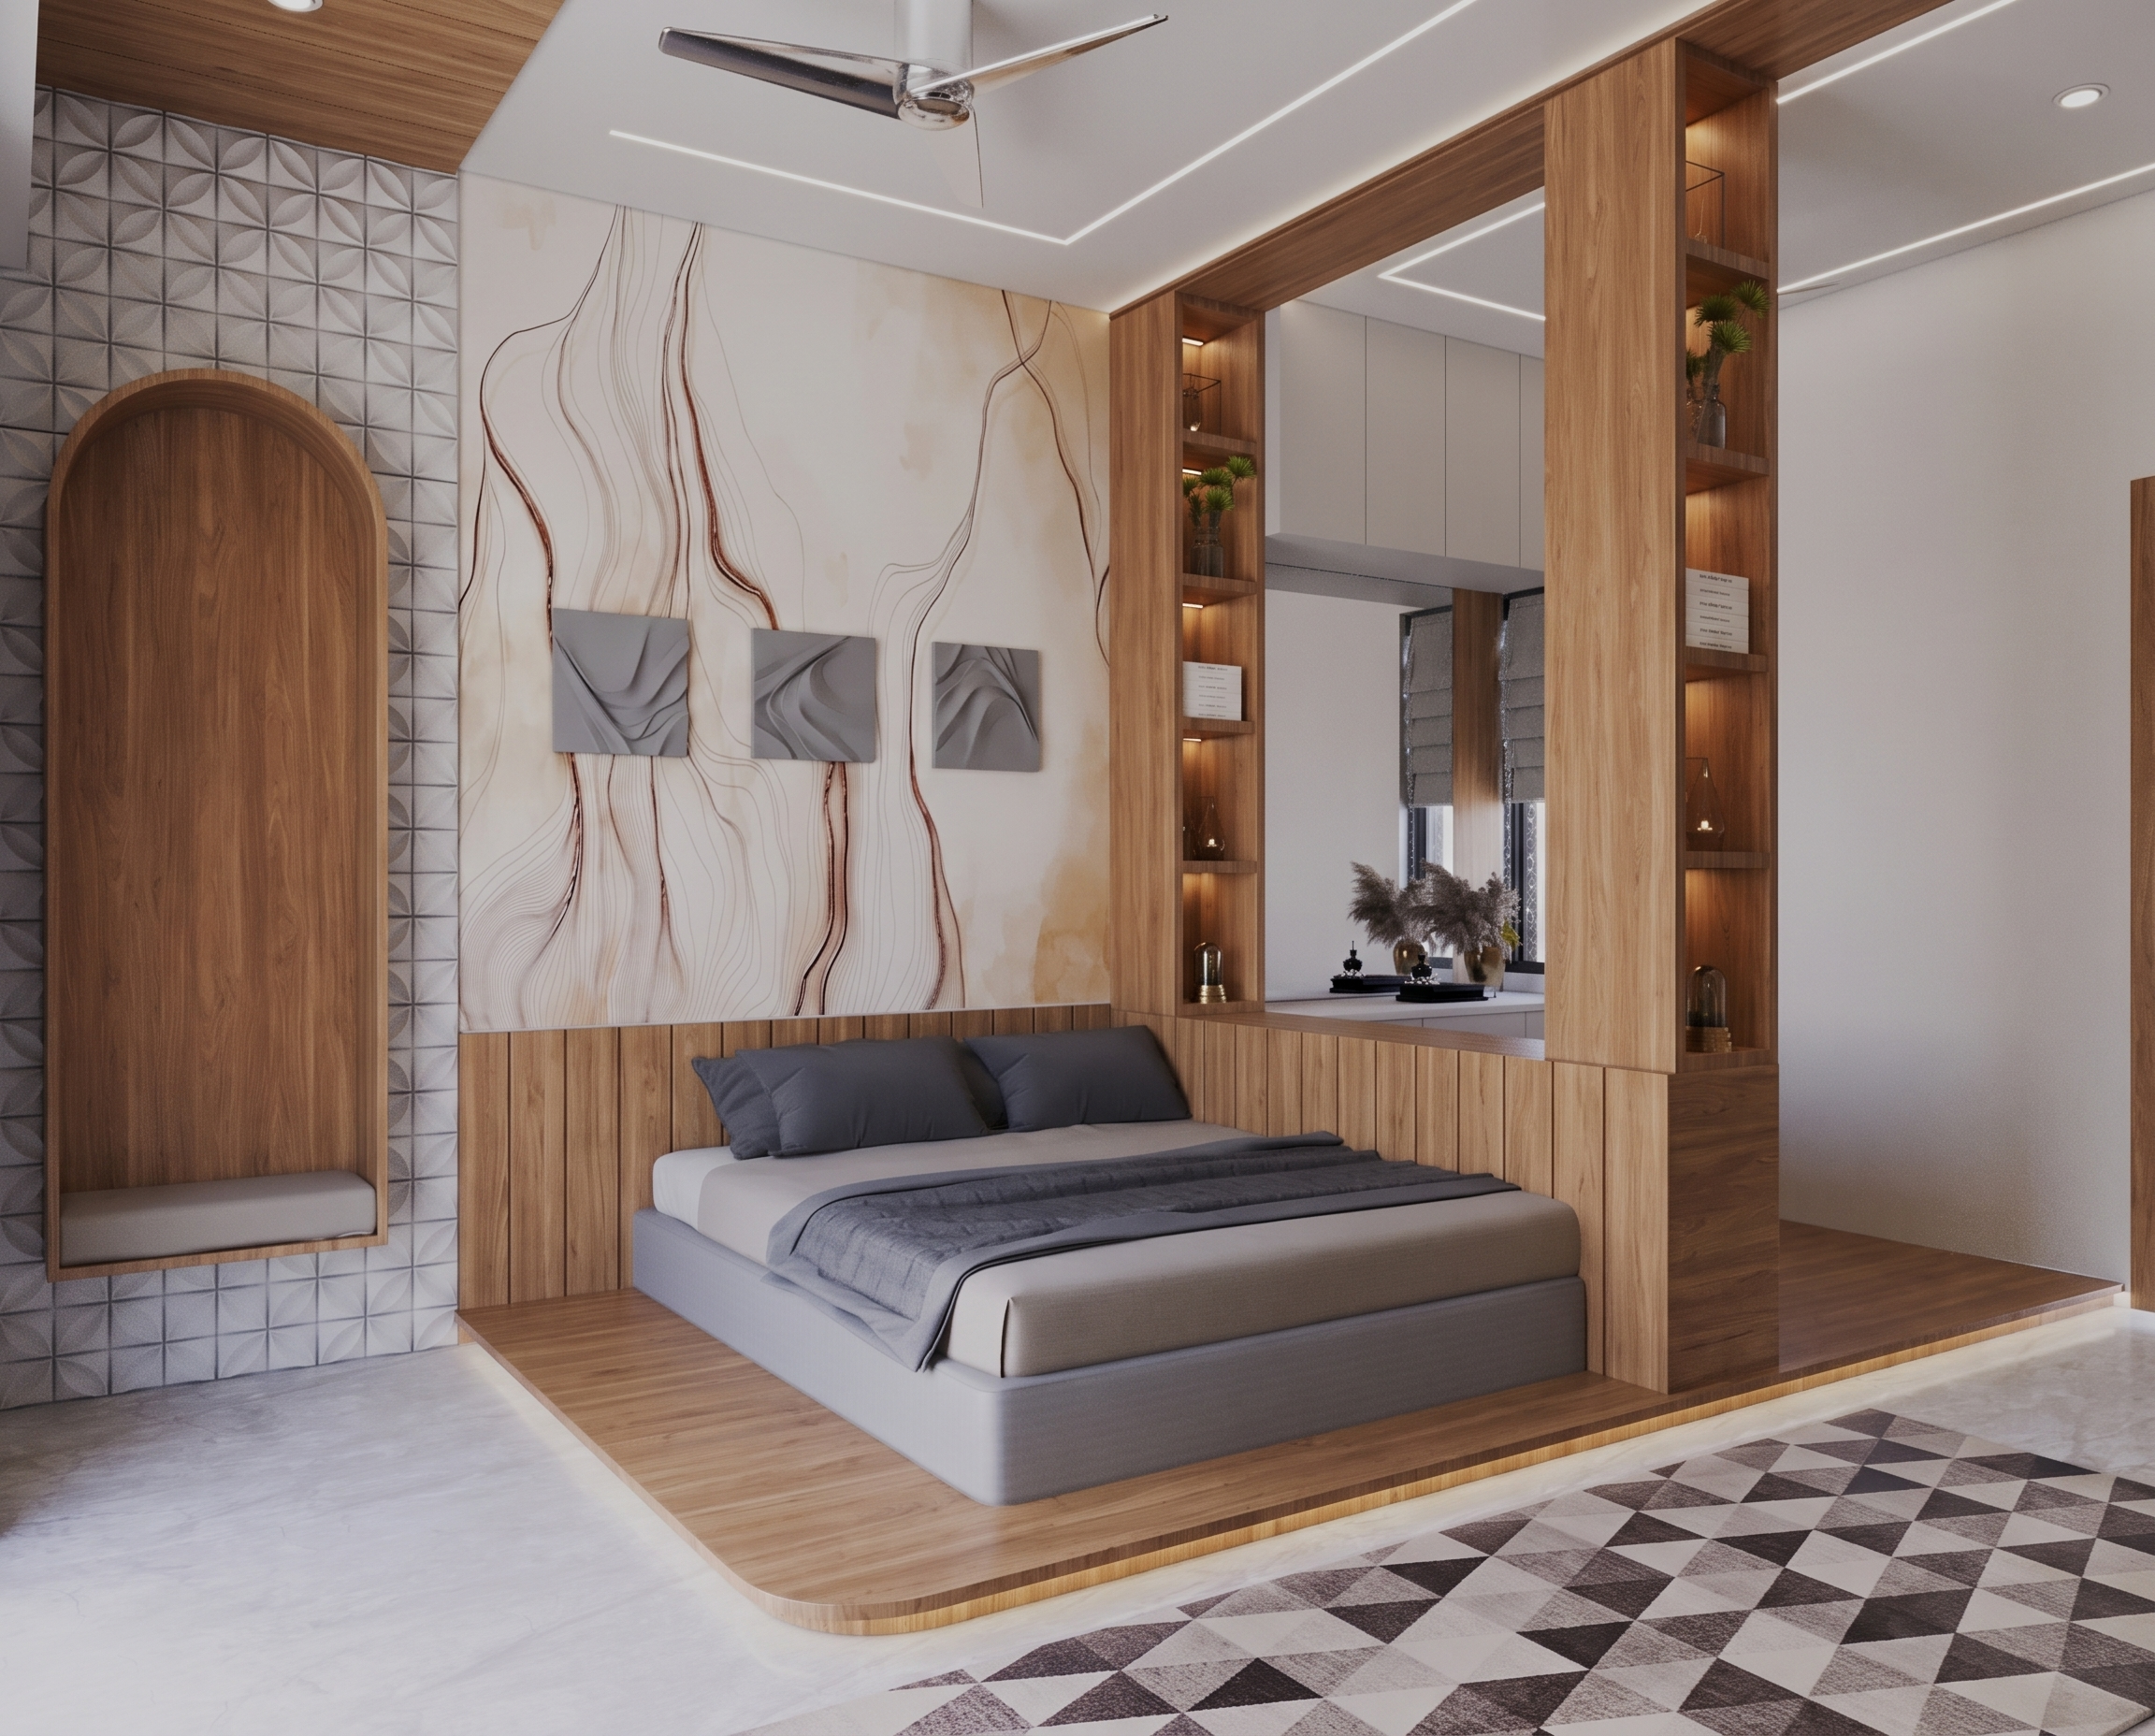
Render example: furnished, lit room
Interior

Render

Elevation or white modelFurnished, lit room
  • Soft light · Day light · Night
  • Matt or glossy floor
  • People on or off
  • Styled props
Isometric render example: 3d furnished cutaway
Floor plan

Isometric render

2D floor plan3D furnished cutaway

  • Room labels on or off
  • Wall colour and finishes
  • Special mentions
Restyle example: same room, new design language
Interior

Restyle

Any interior imageSame room, new design language
  • Layout stays untouched
  • Describe the idea in words
Presentation boards example: sketch, material board or post
Graphics

Presentation boards

A finished renderSketch, material board or post

  • Concept sketch
  • Material board
  • Social media
  • Grid
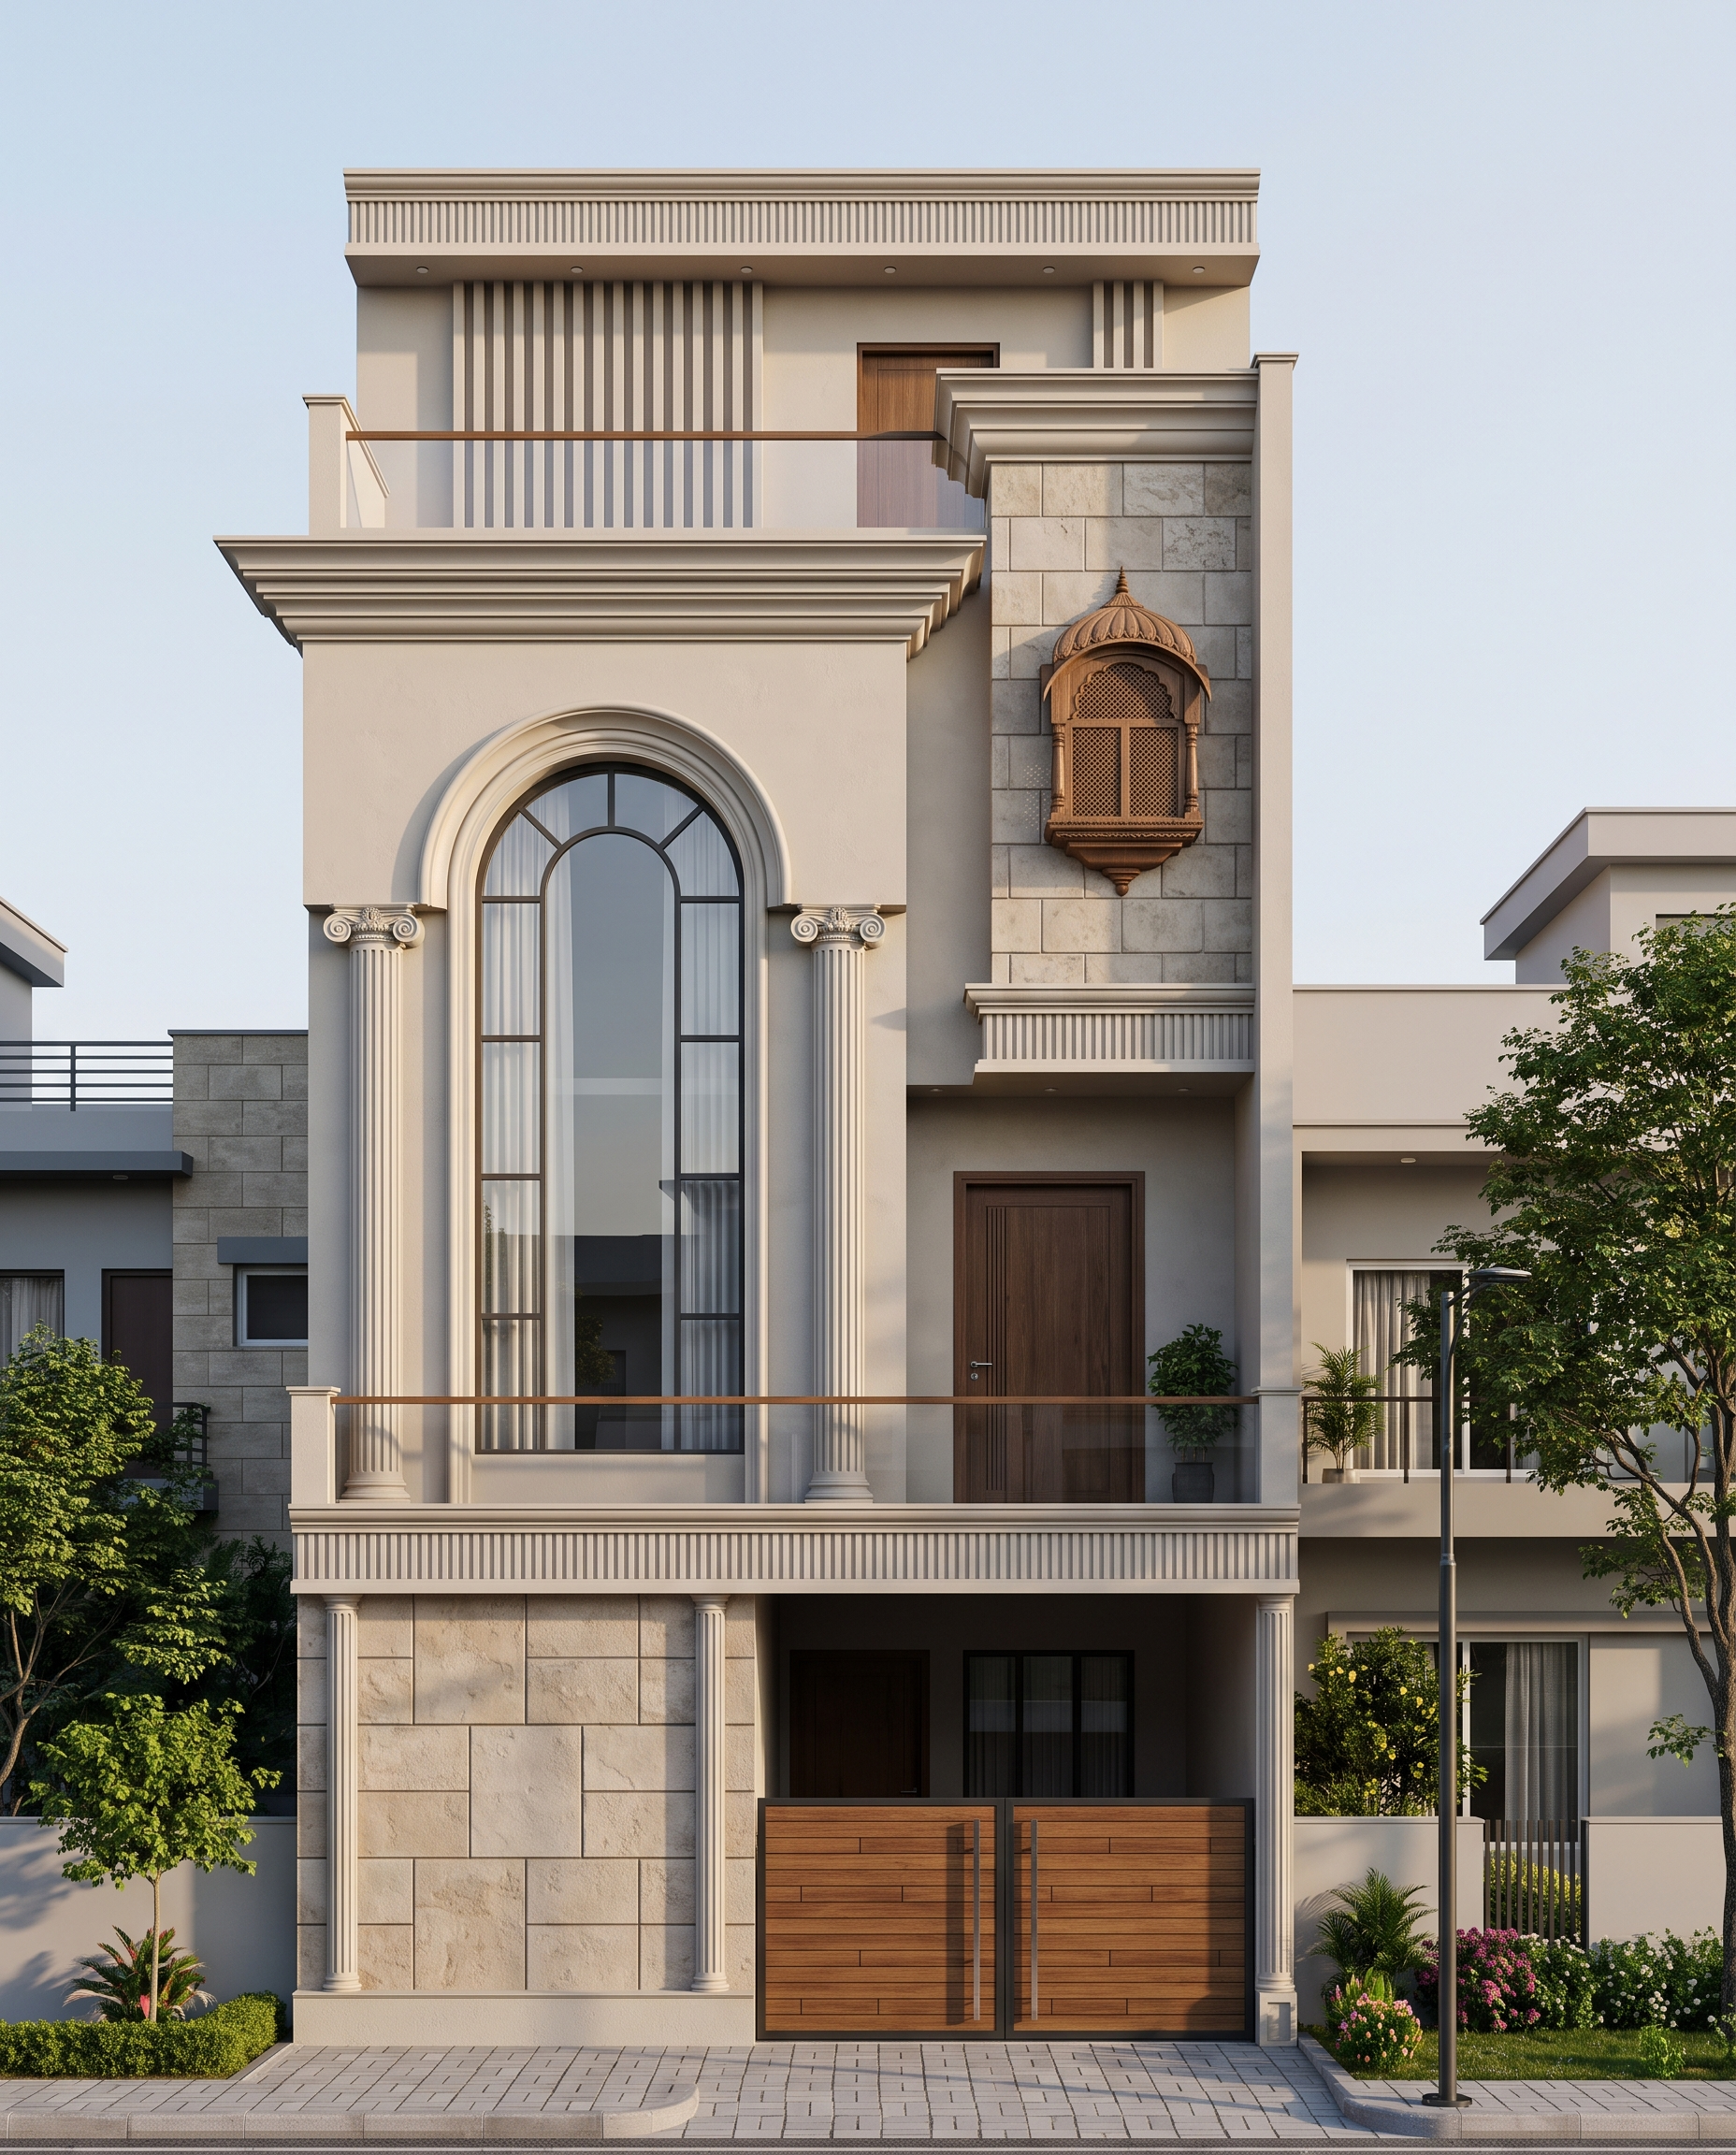
  • Exterior renderFacade drawings to architectural photography — street, urban or mountain setting, from sunrise to night.
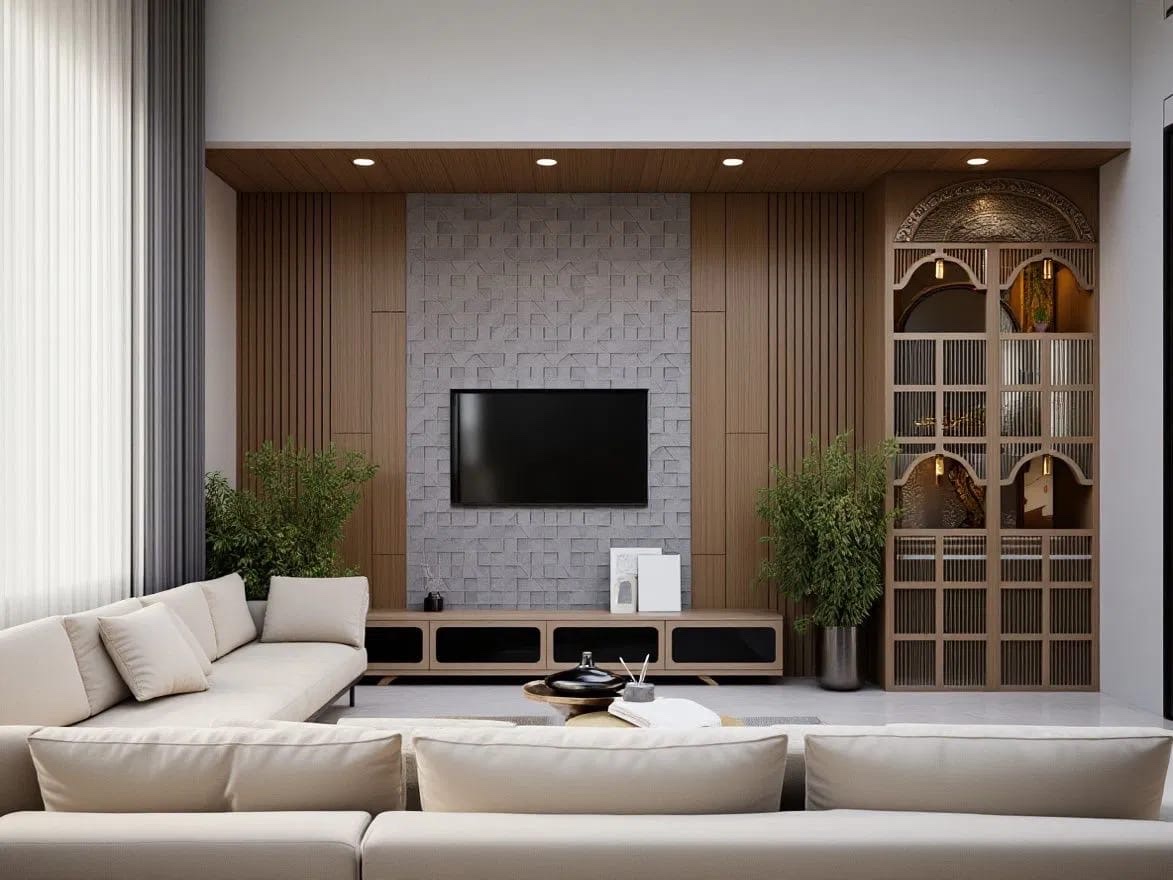
  • PhotoshootEditorial close-ups of a TV unit, kitchen island or any area you name.
  • CeramicMoodboards, 3D renders and free design studies for tile and bathroom work.
  • Texture correctionFix materials on an existing render without changing anything else.

Area edits and voice

Change one thing. Keep everything else.

Circle an area on any render and say what should change — in English, Hindi or Gujarati. Co-Architect turns it into a precise instruction and edits only that part of the image.

  • Mark the exact area on the canvas
  • Speak or type the change
  • Every version stays on the canvas to compare
Render with an area marked for editing
“આ દીવાલ પર ગરમ લાઇટિંગ ઉમેરો અને સોફા ગ્રે કરો”
Edit instructionAdd warm concealed lighting to this wall and make the sofa grey. Keep everything else unchanged.

Gallery

Rendered on the canvas.

Pricing

Pay per render. No subscription.

Buy a credit pack once and use it whenever you need. Prices include GST.

3credits per standard render
6credits per Interior or Exterior render
3credits per area edit

Starter

₹299

30 credits

  • About 5 Interior renders or 10 standard
  • ₹9.97 per credit
  • Credits never expire
Create account

Studio

Popular with studios

₹899

100 credits

  • About 16 Interior renders or 33 standard
  • ₹8.99 per credit
  • Credits never expire
Create account

Pro

₹2,399

300 credits

  • About 50 Interior renders or 100 standard
  • ₹8 per credit
  • Credits never expire
Create account

Failed renders are refunded automatically. Checkout is handled by Razorpay.

FAQ

Questions designers ask first.

What files can I upload?

PNG, JPEG and WebP images up to 15 MB — exported CAD elevations, floor plans, white-model screenshots, hand sketches or site photos. Export DWG or PDF drawings to an image first.

How long does a render take?

Usually under a minute. Every render is checked against your drawing before it is shown, so a render that needs a repair can take a little longer.

Will it change my design?

It is built not to. The drawing is read element by element and treated as a fixed brief: layout, counts, camera and proportions are kept, and a render that drifts is repaired before you see it. Renders are AI-generated visualisations, so always review them before sending to a client.

How does pricing work?

You buy credit packs once — there is no subscription. A standard render costs 3 credits, an Interior or Exterior render 6, and an area edit 3. If a render fails, its credits are refunded automatically. Credits do not expire.

Can I describe changes in my own language?

Yes. Select an image, hold the mic and speak in English, Hindi or Gujarati. Your words become a precise edit instruction for just that image or area.

What happens to my drawings?

Uploads are stored in your account so your canvas survives a refresh. Removing an image from the canvas keeps it in your renders list; camera and location metadata is stripped when you upload.

Your next client meeting can start with a render.

Upload one drawing and see your design, lit and furnished, in about a minute.